Unlock the Sweet Simplicity: One-Pot Raspberry Jam, No Pectin Required!
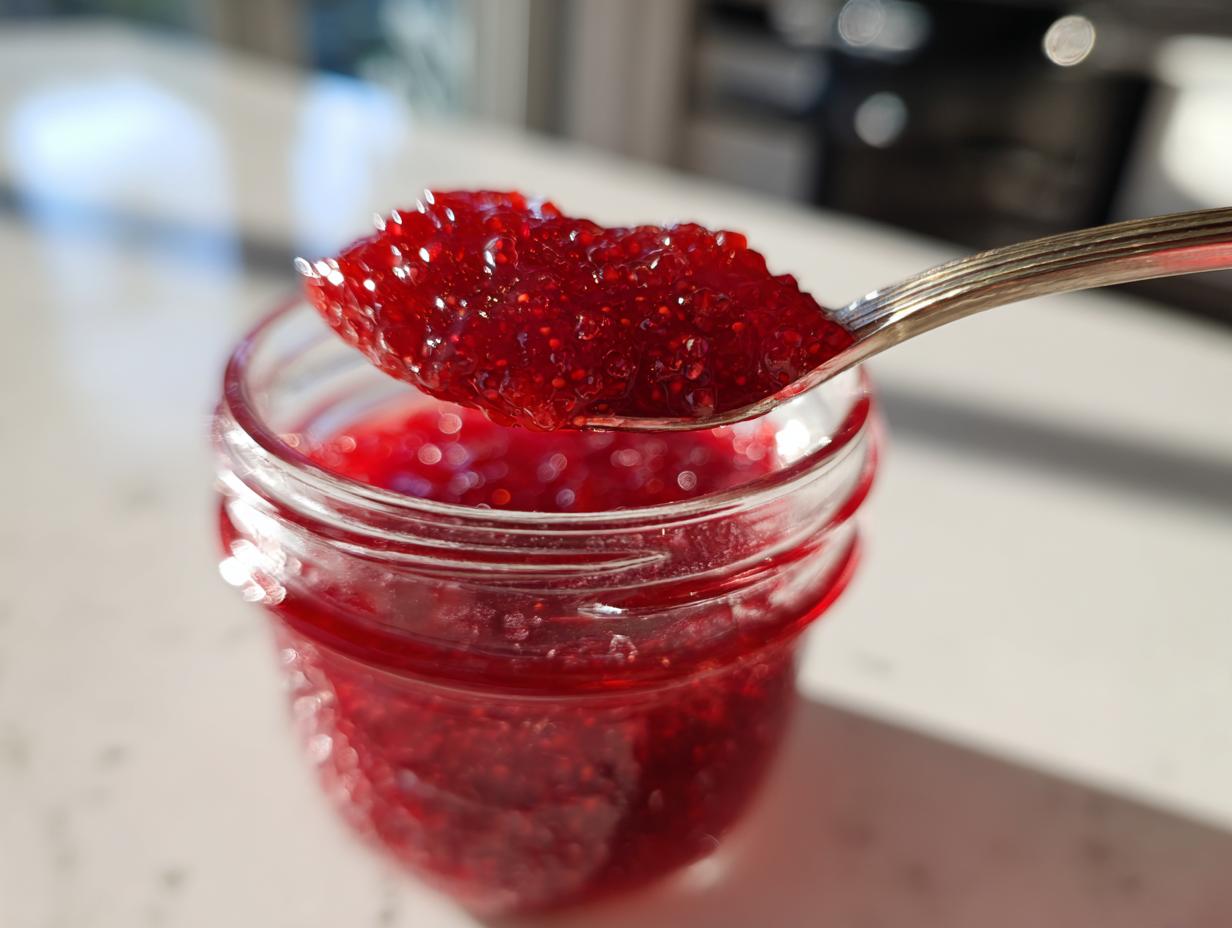
Imagine spreading a vibrant, sweet, and perfectly tart dollop of homemade jam onto your morning toast. Now, imagine making that jam with just three simple ingredients, in one pot, and without the fuss of added pectin. Sounds like a dream, right? Welcome to the world of
easy 3-ingredient raspberry jam: homemade and no pectin. This recipe isn't just simple; it’s a revelation that transforms humble raspberries, sugar, and lemon juice into a culinary delight.
This isn't just another jam recipe; it's a testament to how incredible natural ingredients can be when brought together. Many people associate jam-making with complex processes, endless stirring, and the need for commercial pectin to achieve that perfect set. But what if we told you that nature has already provided all you need within the humble raspberry itself? This ingenious method, honed by chefs and home cooks alike, leverages the fruit's inherent pectin, guided by the precise balance of sugar and acidity, to create a truly unforgettable spread. Whether you’re a seasoned preserver or a kitchen novice, this recipe is designed to deliver consistent, mouth-watering results every time. It’s the kind of recipe that makes you wonder why you ever did it any other way.
The Magic Trio: Why These 3 Ingredients Work Wonders
The genius of this
homemade raspberry jam lies in the harmonious interplay of its core components. Each ingredient plays a vital role, not just in flavor, but in achieving that perfect jam consistency without any artificial aids.
*
Raspberries: The Heart of the Jam
Raspberries are naturally rich in pectin, particularly when slightly underripe, though enough is present in ripe berries to do the job. Pectin is a soluble fiber found in fruits that, when heated with sugar and acid, forms a gel, giving jam its characteristic thick texture. Beyond their natural setting power, raspberries deliver a distinctive sweet-tart flavor profile and a beautiful ruby-red hue that is simply irresistible. They provide the fundamental base and the vibrant character that defines this jam.
*
Sugar: Sweetness, Structure, and Preservation
Sugar does far more than just sweeten the jam. It is absolutely critical for the jam to thicken and set properly. Sugar interacts with the pectin in the raspberries, drawing out moisture and facilitating the gelling process. Furthermore, sugar acts as a natural preservative, inhibiting microbial growth and extending the shelf life of your homemade concoction. In this specific recipe, the sugar content is carefully balanced to enhance the natural fruit flavor without making the jam overly sweet, allowing the bright notes of raspberry to truly shine.
*
Lemon Juice: The Essential Acid Balancer and Setting Agent
Often underestimated, lemon juice is the unsung hero of this
easy raspberry jam recipe. Its acidity is crucial for two primary reasons. Firstly, it balances the sweetness of the sugar, adding a bright, zesty counterpoint that elevates the overall flavor. Without it, the jam could taste flat or cloyingly sweet. Secondly, and perhaps most importantly for a pectin-free jam, the acid in lemon juice helps to activate and optimize the gelling properties of the natural pectin present in the raspberries. It lowers the pH of the mixture, creating the ideal environment for the pectin chains to bond and form that desirable thick, spreadable texture as the jam cools. This vital ingredient ensures your jam sets beautifully every time.
Together, these three ingredients form a powerful culinary alliance, proving that sometimes, the simplest things yield the most profound results.
One Pot Wonder: Step-by-Step to Homemade Raspberry Jam
The beauty of this
one-pot raspberry jam is its straightforward, hands-on process. You don't need fancy equipment or a chemistry degree – just a pot, a thermometer, and a little patience.
What You'll Need:
* A medium-sized, heavy-bottomed pot (to prevent scorching)
* A food thermometer (crucial for accurate setting)
* A spoon or spatula for stirring
* Clean jars or an airtight container for storage
The Simple Steps:
- Combine Your Ingredients: In your chosen pot, combine your raspberries (whether fresh or frozen, we'll discuss this more below!), sugar, and lemon juice. If you are using fresh raspberries, add 1-2 teaspoons of water to the pot. This accounts for the extra moisture naturally present in frozen berries, ensuring your fresh fruit jam doesn't become too thick too quickly.
- Gentle Start: Place the pot over medium-low heat. Begin stirring occasionally as the mixture warms. This gentle heat allows the raspberries to slowly break down, releasing their juices and forming a luscious liquid base. This slow start is key to extracting maximum flavor and encouraging the natural pectin to do its work.
- Bring to a Boil: Once the fruit has broken down and the sugar has dissolved, increase the heat to medium-high and bring the mixture to a rolling boil. Continue to stir, especially as it thickens, to prevent sticking and burning.
- Reach the Setting Point: This is where your food thermometer becomes indispensable. Insert the thermometer into the jam, making sure it doesn't touch the bottom of the pot (a good tip is to tilt the pot slightly so a pool of jam sits to one side for a more accurate reading). Continue cooking, stirring frequently, until the jam reaches 220°F (104°C). This temperature indicates that enough water has evaporated, and the pectin has reached its gelling potential, signaling the "setting point" for your homemade raspberry jam. Do not shortchange this step; undercooking will result in a runny jam.
- Cool and Thicken: As soon as the jam hits 220°F, immediately remove it from the heat. Pour the hot jam into a clean, cool bowl. Don't be alarmed if it still looks quite runny at this stage – this is perfectly normal! Jam continues to thicken significantly as it cools.
- Optional Skimming: If desired, you can gently skim any foam that has risen to the surface. This step is purely aesthetic and results in a clearer, smoother finished jam.
- Final Cooling and Storage: Allow the jam to cool completely at room temperature. This can take several hours. Once fully cooled and set, transfer your beautiful raspberry jam to an airtight container or sterilized jars and store it in the refrigerator. It will keep well for several weeks.
Fresh vs. Frozen: Unlocking Year-Round Jam Perfection
One of the most frequently asked questions about this recipe is whether to use fresh or frozen raspberries. The good news? Both work wonderfully, making this a truly versatile recipe you can enjoy all year round! However, there are distinct advantages and slight adjustments for each.
Why Frozen Berries are a Jam-Making Favorite:
- Cost-Effectiveness: Frozen raspberries are typically more budget-friendly than fresh ones, especially outside of peak growing season.
- Year-Round Availability: You can make this delicious no pectin jam any time of year, regardless of the season, thanks to the constant availability of frozen fruit.
- Peak Freshness: Frozen berries are usually picked and flash-frozen at their peak ripeness, locking in maximum flavor and nutrients. This means a consistently vibrant taste for your jam.
- Natural Moisture: Frozen berries release more liquid as they thaw and cook, which helps kickstart the jam-making process and ensures a smooth consistency without needing extra water. This is a subtle yet significant benefit for achieving that perfect set.
Using Fresh Raspberries: A Delightful Alternative:
While frozen berries often win out for convenience and cost, there's a unique joy in using freshly picked raspberries from your garden or a local market. If you opt for fresh, there's just one minor adjustment to make:
- Add a Splash of Water: To compensate for the extra moisture naturally present in frozen berries (which is absent in fresh ones), simply add 1-2 teaspoons of water to the pot when you combine your ingredients. This ensures the jam doesn't become too thick too quickly and allows the fruit to break down properly, releasing its natural pectin and juices.
Ultimately, the choice between fresh and frozen is yours. We find that for a truly hands-off, consistent experience, frozen raspberries are often the preferred choice for this
3-ingredient raspberry jam. But don't let that stop you from enjoying a batch with gorgeous, sun-ripened fresh fruit when it's in season!
Beyond the Toast: Creative Ways to Enjoy Your Raspberry Jam
While a classic spread on sourdough toast with a cup of afternoon tea is undeniably delightful, your homemade
raspberry jam is far too versatile to be limited to breakfast. Here are some inspiring ideas to make the most of your delicious creation:
- Baking Brilliance: Transform ordinary baked goods. Use it as a luscious filling for thumbprint cookies, swirl it into muffin batter, layer it between cake sponges, or create stunning tarts and turnovers. It's an essential component for classic British Bakewell tarts or Linzer cookies.
- Breakfast & Brunch Boost: Elevate your morning routine. Spoon it generously over Greek yogurt or cottage cheese, swirl it into oatmeal or overnight oats, or use it as a vibrant topping for pancakes, waffles, or French toast.
- Savory Pairings: Dare to be different! The sweet-tart profile of raspberry jam makes it a fantastic accompaniment to savory dishes. Serve it alongside a rich cheese board (it pairs beautifully with Brie, goat cheese, or sharp cheddar), use it as a glaze for roasted pork or chicken, or even whisk a spoonful into a vinaigrette for a fruity salad dressing.
- Dessert & Drinks: Integrate it into other desserts. Drizzle it over vanilla ice cream, mix it into a simple panna cotta, or use it as a base for a fool. For a refreshing drink, stir a tablespoon or two into sparkling water or lemonade, or get creative by muddling it into cocktails for a fruity twist.
With its bright flavor and perfect texture, this
simple raspberry jam recipe will quickly become a pantry staple and a go-to ingredient for both everyday delights and special occasions.
Conclusion: The Sweet Reward of Simplicity
Making your own
one-pot raspberry jam with just three ingredients and no pectin is more than just a recipe; it's an experience in culinary alchemy. It demystifies the art of jam-making, proving that incredible flavor and perfect texture can be achieved with simplicity, patience, and a little kitchen know-how. From the initial burst of raspberry fragrance as it simmers to the satisfying spread on your favorite pastry, every step is a testament to the power of natural ingredients. So, embrace the ease, revel in the natural sweetness, and enjoy the profound satisfaction that comes from creating something truly delicious from scratch. Your taste buds (and your kitchen cleanup crew!) will thank you.